| Author | Message | ||
Jeffk Tinkerer Username: Jeffk Post Number: 49 Registered: 10-2011 Rating: N/A |
Thanks for the tips, and excellent tool Aford! I however am more lazy, and wound up doing the following, which I wouldn't do with someone else's camera or with a particularly precious camera of any kind, but it did work fine: 1) Pry off the black annular ring with the white-dot exposure count indicator. 2) Cut two plastic cylinders from a plastic model kit frame, and shave off one end of each piece into a wedge. 3) Wedge the cylinders between the black dial and the inside rim of the advance lever to hold the dial in place. 4) Loosen center screw using a careful nudge from needlenose pliers, in the usual counterclockwise direction. I first tried putting shrink-wrap around the jaws but this did not work very well, so I simply carefully clamped and turned. 5) Remove black dial, it is now just sitting on a land. 6) Remove the last of the three little screws (two were already floating around), put a tiny drop of blue locktite on the threads of all three, and replace and tighten the screws. 7)Put it all back together, using a drop of blue locktite on the central hub screw and tightening it finger-tight with my thumb, and a tiny bit of rubber cement under the black ring and under the leather circle (which I did not actually need to remove). Works great now! Hopefully this is the only time I will ever need to tear into this camera, it otherwise works fine and is pretty unique and interesting in an unusual sort of way. 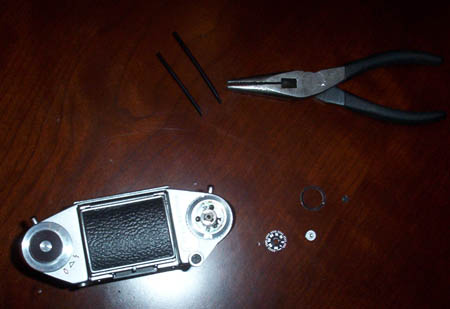 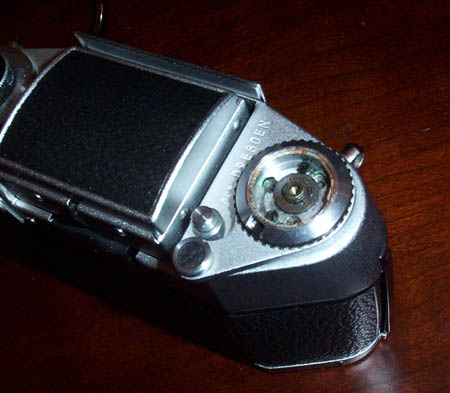 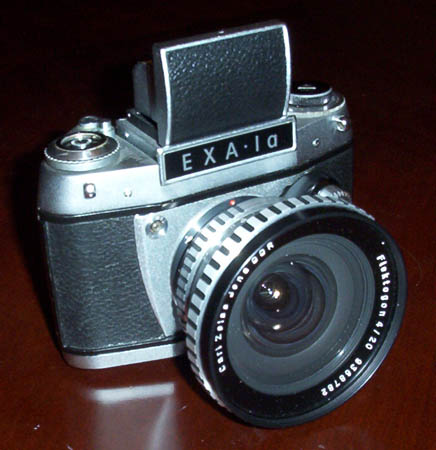 |