| Author | Message | ||
Nickon51 Tinkerer Username: Nickon51 Post Number: 152 Registered: 05-2008 Rating: N/A |
PH, Thanks for the verification of the wiring. I really must put this one back together before I forget how. David This is not an easy shutter to get into, but with a bit of creativity you can make some tools to do the job. Remove the shutter plate assy from the camera as PH outlined. Use a suitable tool and remove the thin chrome ring on the outside of the name plate but inside the barrel. Its screws into the same threads as the filters use. I made up a special tool for this. If you have a dremel or bench grinder its easy to do. Using a piece of thin steel, grind one edge off it just leaving one tang on either side to drop into the slots on the ring. I used a piece of a power hacksaw blade, but almost any scraper blade or putty knife will do. 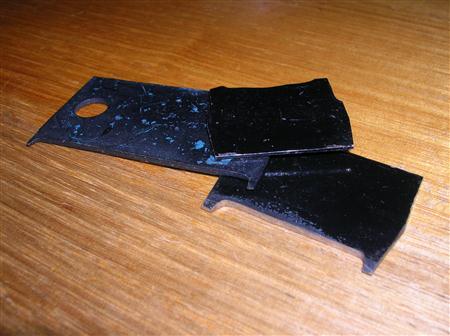 The wide one on the left is for 55mm thin rings. After you remove the front ring, these parts should drop out 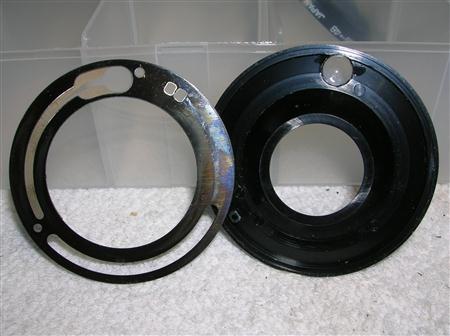 and this 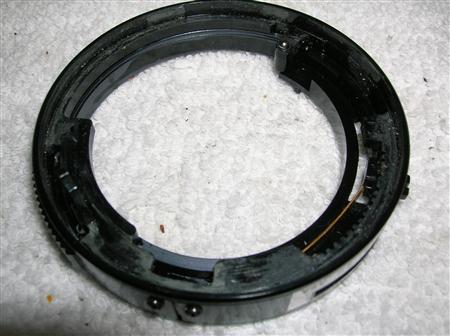 leaving you with here 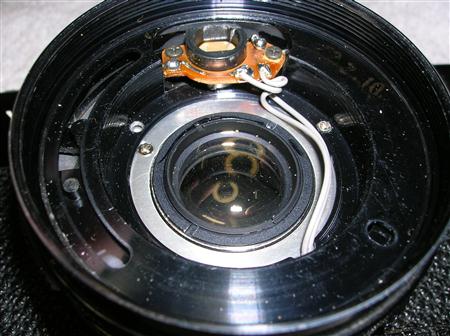 Unscrew the sensor board, and then the 3 screws that hold the black shroud. Lift that off and you are down to the shutter cover. 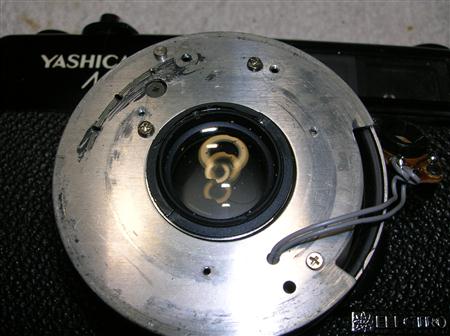 Remove the 3 c/s screws and you have the shutter exposed. Leave the sensor dangling on its lead for this one. Turn the shutter plate over over and you will see a long 4 slotted retaining tube that extends up past the rear lens. Leave the lens and remove that tube. Use a suitable piece of flat steel. 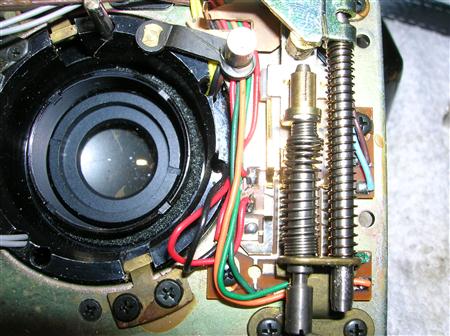 After you unthread that, the shutter should drop clear of the helical mount. 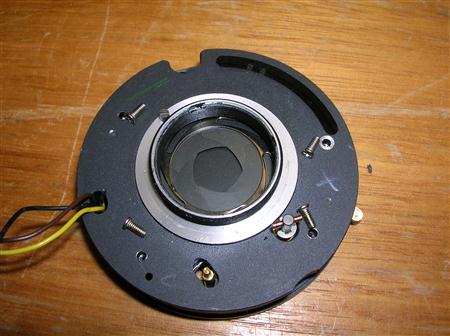 This picture shows some screws removed, you do not to need to do this. You should remove both lenses for safe keeping. Now thread the replacement wires through, reassemble and enjoy. Good Luck Greg |