| Author |
Message |
    
Der_uli
Tinkerer
Username: Der_uli
Post Number: 5
Registered: 05-2010
Rating: N/A
Votes: 0 (Vote!) | | Posted on Tuesday, June 01, 2010 - 08:41 am: | 


|
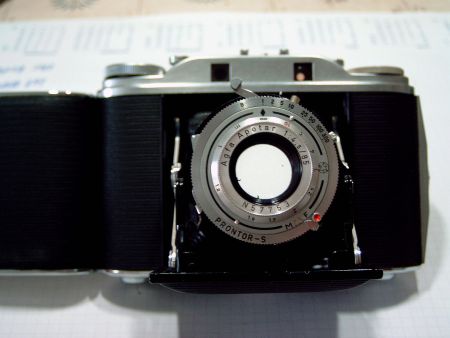
Here's a little story about CLA'ing an Agfa Isolette III. I got it really
cheap at a flea market because everything movable was stuck. But since it
was in a very good cosmetic condition, I decided to get it working again.
There exist similar reports on Isolettes, e.g. here and here, but I did some
things a little different. Compare yourself.
First I had to get the rangefinder working again. Removing the top plate was
easy after I found out that the screw securing the film advance wheel was
left-geared.

After opening the rangefinder compartment I put a little oil on the distance dial's thread and on the mirror lever's bearing and let it work over night.
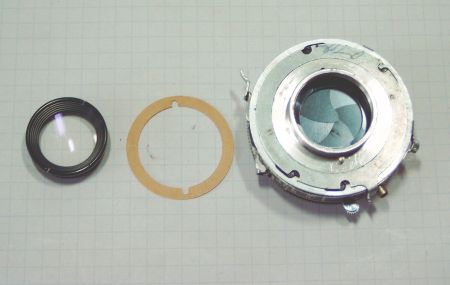
In the meantime I disassembled the lens and shutter. An old caliper is a nice
tool to unscrew all those rings with nothing more than two opposite slits.
 . . 
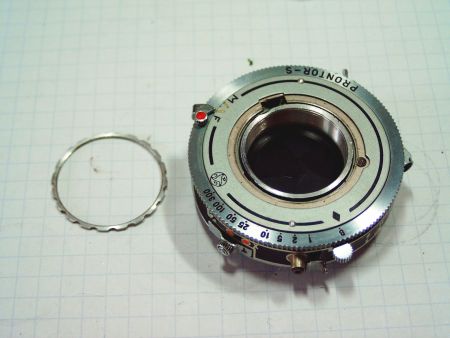
The rear lens came out easily.
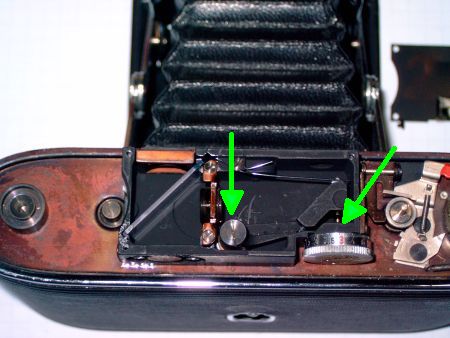
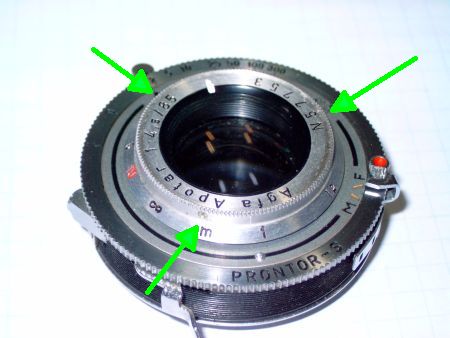
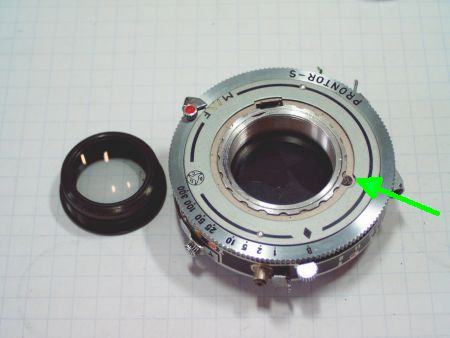
To unscrew the front lens, first its position on the distance scale ring should be marked. The three tiny screws (green arrows) are fragile and should only be loosened a few turns, not taken out completely. After removing this ring, count and write down the number of turns you need to get the front lens off. Mark the gear start position, too (although mistakes here can be adjusted later).
 . . 
Unscrewing the middle lens was too hard even for this crude knife method. Putting some drops of isopropyl (cleaner alcohol) on the threads and letting it work for some minutes did solve this problem.
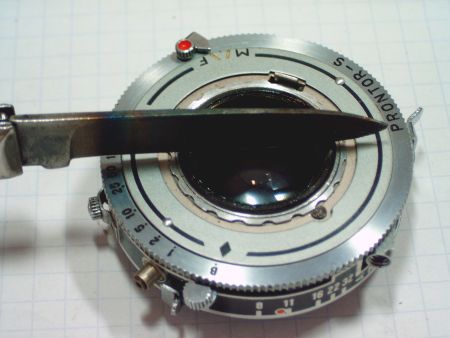
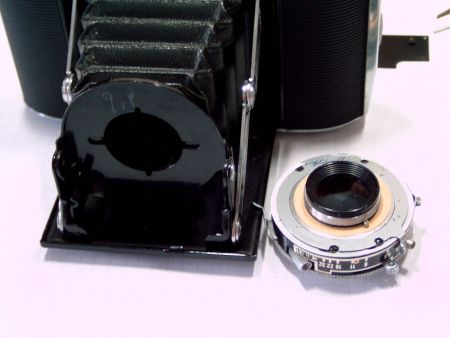
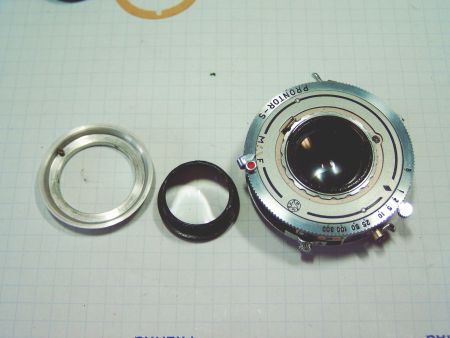
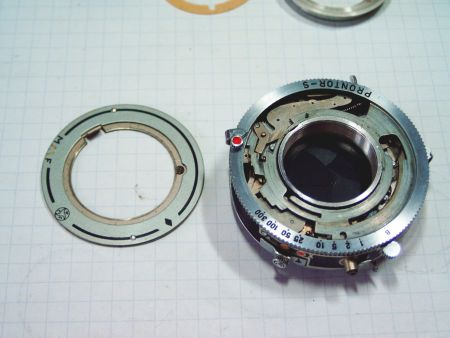
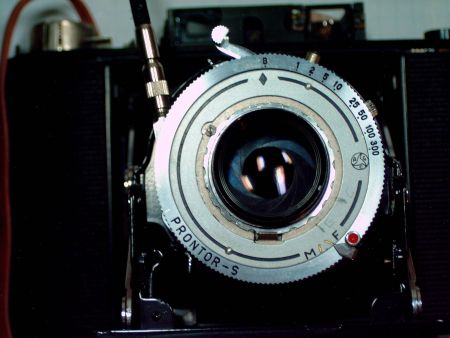
The shutter was completely stuck. It can be opened after turning the little screw at the green arrow by half a turn.
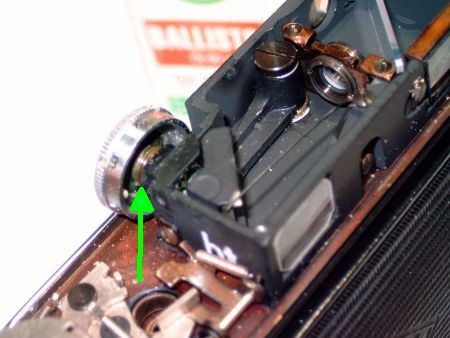
In my case it was sufficient to get the top plate (time ring) off. If you are interested in complete shutter disassembly, look at this website or here.
 . .  . . 
Several drops of this "Tuner Cleaning Spray" were enough to dissolve the old, hardened lubricants. The shutter started whirring within seconds after
its application.
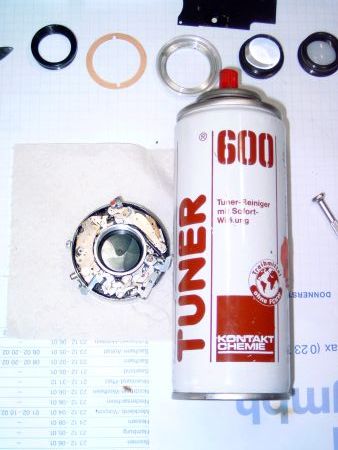
I soaked the fluid off the shutter blades with a piece of toilet paper.
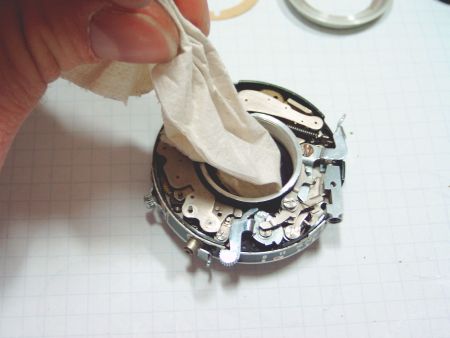
After drying I applied with a needle a very tiny amount of oil to the gears and bearings.
You may use your favorite solvents and lubricants as well, but take care that no oil creeps onto the shutter blades. Take the Compur Shutter Lubrication Diagram as a guide.
The lenses were in perfectly clean condition, so I could now put them back into the shutter. The front lens' thread had two starting points, but
fortunately I marked the correct position of all parts during disassembly.
Anyway, they had to be adjusted now, so the last ring with the distance scale can stay apart until this is finished.
I use a method similar to Ed Romney's (compare here and of course here).
A flat, 60 mm wide, translucent screen with diagonal black lines is put
exactly where the film usually lies.
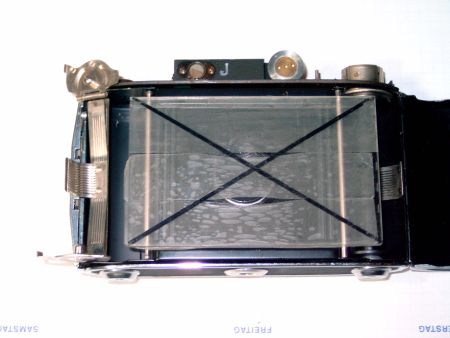
If it does not lie flat but wiggles and rocks on the film rails, the whole camera body is twisted. It has to be bent back into shape with some force.
If it sits perfectly it can be rubber-banded there and lit from behind. The shutter is opened with a cable release. The ink lines can now be seen through the lens.
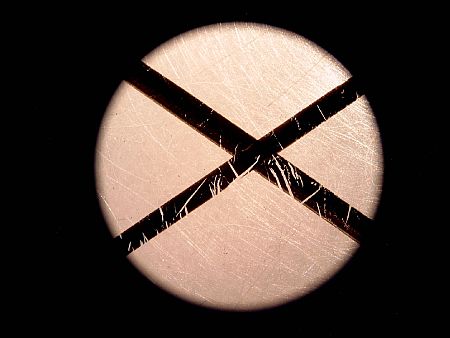
I examined them with a telescope of 35x magnification with was set exactly to
infinity. If you are less critical, a 10x binocular (half) may suffice.
(Does this correspond to a 500 mm lens with Ed's method?)

The tiny holes in the ink lines now give a very good measure of picture quality. Turn the front lens until they look the sharpest. The camera lens is now adjusted to infinity. You better stop down the lens by two steps - you will be surprised how much difference this makes!
(to be continued...) |
Der_uli
Tinkerer
Username: Der_uli
Post Number: 6
Registered: 05-2010
Rating: N/A
Votes: 0 (Vote!) | | Posted on Tuesday, June 01, 2010 - 09:35 am: |
|
Due to the 35x magnification, every fault in the camera's optics is much exaggregated. This is an extremely sensitive test - I bet you'll never enlarge a 6x6 cm negative from this camera that much. But this way you can easily see what's going wrong.
By tilting the camera, I inspected next the picture quality near the edges. This needed a totally different lens focus than in the center!! More on this later.
First I tried if all four edges had at least the same focus setting. This was *not* the case: the lens was slightly tilted against the film plane. Since it is only made of thin sheet metal, I had no difficulties in bending the camera front a little until that all four edges seem equally sharp.
Now what remains was a big difference in focus setting between center and edges. When the center is sharp for a 4m distance, the edges are so at 3 meters! (Nice for interior photos...)
This optical effect is called field curvature und is common on old/cheap lenses.
But, I used a flat piece of glass as the image plane, whereas the film may bulge a lot. So I checked next the flatness of the film pressure plate.

It was bent in a way that the middle of the film would be about 2 millimeters closer towards the lens than the edges. This will firmly hold the film, but the center focus will move out still more!!
Now, am I in error here? I hoped that the engineers that made this camera compensated the lens' field curvature with a curved film plane. But it looks just the contrary. I'll better take some real test pictures - what do you think?
Anyway, I have to decide which focus adjustment is correct: at the center with flat image plane (which was exactly the original setting, as my marks before disassembly indicate), at the edges where it is sure that the film is firmly hold, or at the center with somewhat inside-bulged film? Old books even recommend taking 1/3 off center.
Your comments on this?
(to be continued with rangefinder adjustment)
-uli |
Der_uli
Tinkerer
Username: Der_uli
Post Number: 7
Registered: 05-2010
Rating: N/A
Votes: 0 (Vote!) | | Posted on Tuesday, June 01, 2010 - 09:37 am: |
|
Due to the 35x magnification, every fault in the camera's optics is much exaggregated. This is an extremely sensitive test - I bet you'll never enlarge a 6x6 cm negative from this camera that much. But this way you can easily see what's going wrong.
By tilting the camera, I inspected next the picture quality near the edges. This needed a totally different lens focus than in the center!! More on this later.
First I tried if all four edges had at least the same focus setting. This was *not* the case: the lens was slightly tilted against the film plane. Since it is only made of thin sheet metal, I had no difficulties in bending the camera front a little until that all four edges seem equally sharp.
Now what remains was a big difference in focus setting between center and edges. When the center is sharp for a 4m distance, the edges are so at 3 meters! (Nice for interior photos...)
This optical effect is called field curvature und is common on old/cheap lenses.
But, I used a flat piece of glass as the image plane, whereas the film may bulge a lot. So I checked next the flatness of the film pressure plate.
It was bent in a way that the middle of the film would be about 2 millimeters closer towards the lens than the edges. This will firmly hold the film, but the center focus will move out still more!!
Now, am I in error here? I hoped that the engineers that made this camera compensated the lens' field curvature with a curved film plane. But it looks just the contrary. I'll better take some real test pictures - what do you think?
Anyway, I have to decide which focus adjustment is correct: at the center with flat image plane (which was exactly the original setting, as my marks before disassembly indicate), at the edges where it is sure that the film is firmly hold, or at the center with somewhat inside-bulged film? Old books even recommend taking 1/3 off center.
Your comments on this?
(to be continued with rangefinder adjustment)
-uli |
Der_uli
Tinkerer
Username: Der_uli
Post Number: 8
Registered: 05-2010
Rating: N/A
Votes: 0 (Vote!) | | Posted on Wednesday, June 02, 2010 - 08:14 am: |
|
Don't know what's wrong with this #*�$%&! computer - it shows me a blank screen instead of letting me upload an image - I can't even delete the double posting - moderator's assistance needed :-(
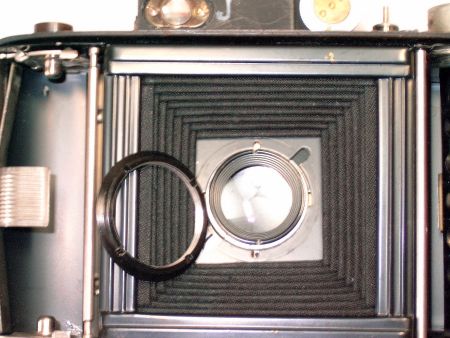
This should be the picture of the film pressure plate: 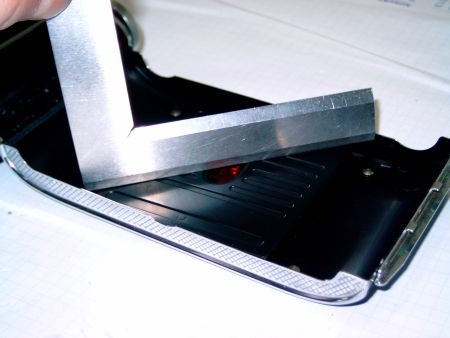
Now to the rangefinder. The oil has seeped overnight into the parts. But still they don't move as easily as I wish. So I took off the lever with the moving mirror, cleaned and oiled its bearing.

The distance dial has two possibilities to remove the end-stop: 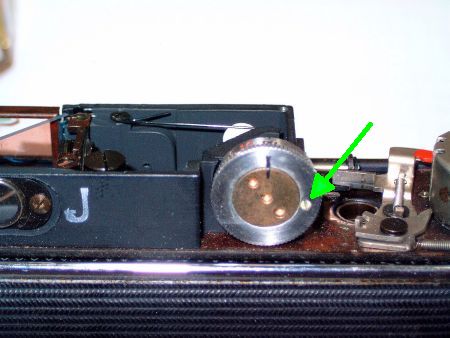 . . 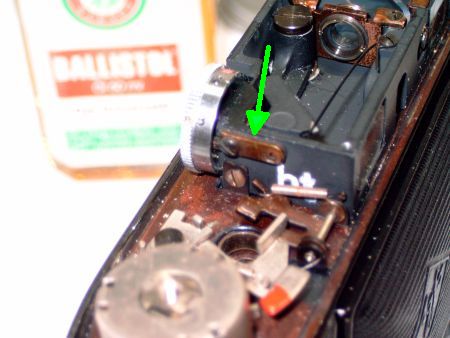
I chose unscrewing the latter, which is the infinity stop. Now the fine thread of the dial came out for some turns, enough to be lubricated.
After putting the parts back together, the rangefinder now has to be adjusted. Following is a look through at some distant objects. In the middle, slightly green area, the trees show double contours.
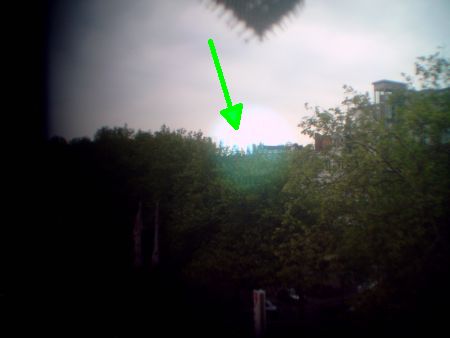
After loosening the three little screws at the circumference of the distance dial, the inner (brass) part can be adjusted until the double contours match up and disappear. In this position, now *only* the outer ring has to be turned until it indicates infinity. Fix all screws in this position and you're done.
I checked it additionally at a shorter distance of exactly 2 meters, but that was OK too.
There are additional adjustment screws that move the double contours vertically, but I needn't touch them.
After putting the top plate back on the camera, it is ready for shooting! This will take me quite a time, so please be patient...
-uli |
|